
This is the year that I'm going to get into this vertical gardening fad. This tutorial is for planting seedlings and your plants rather than growing straight from the seed.

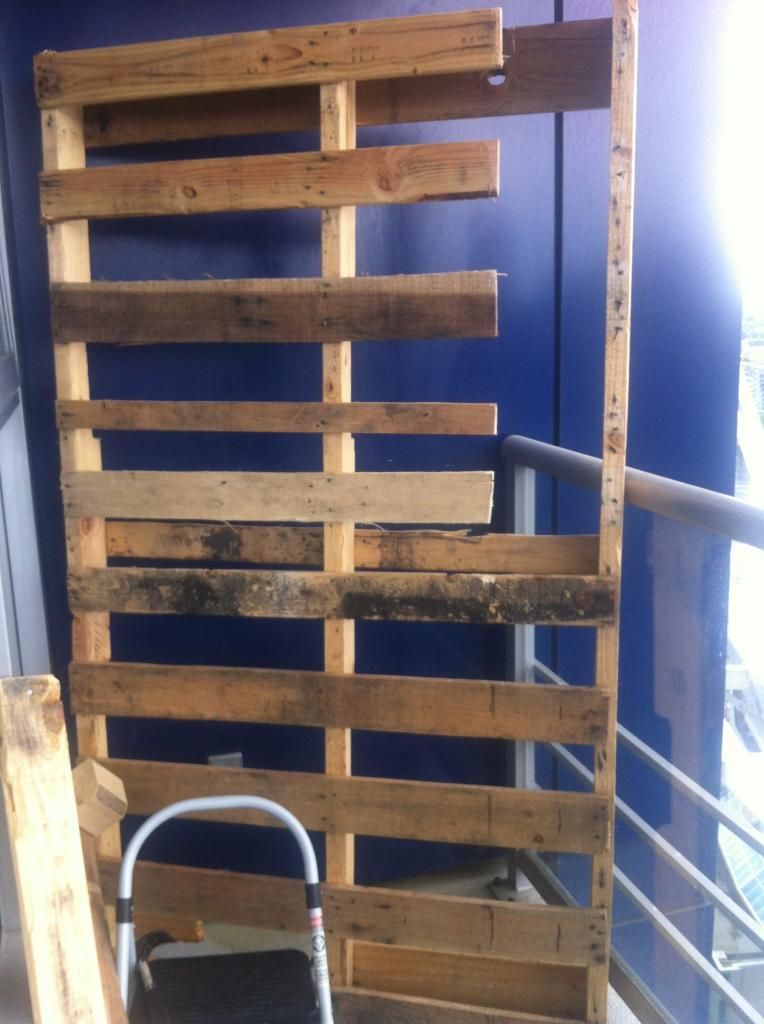
At first I was going to attach two square sized pallets together because I wanted to grow tomatoes and peppers at a higher elevation since they need more sun. But one day while I was leaving the parkade at work and spotted the most beautiful thing: a 7 foot pallet.
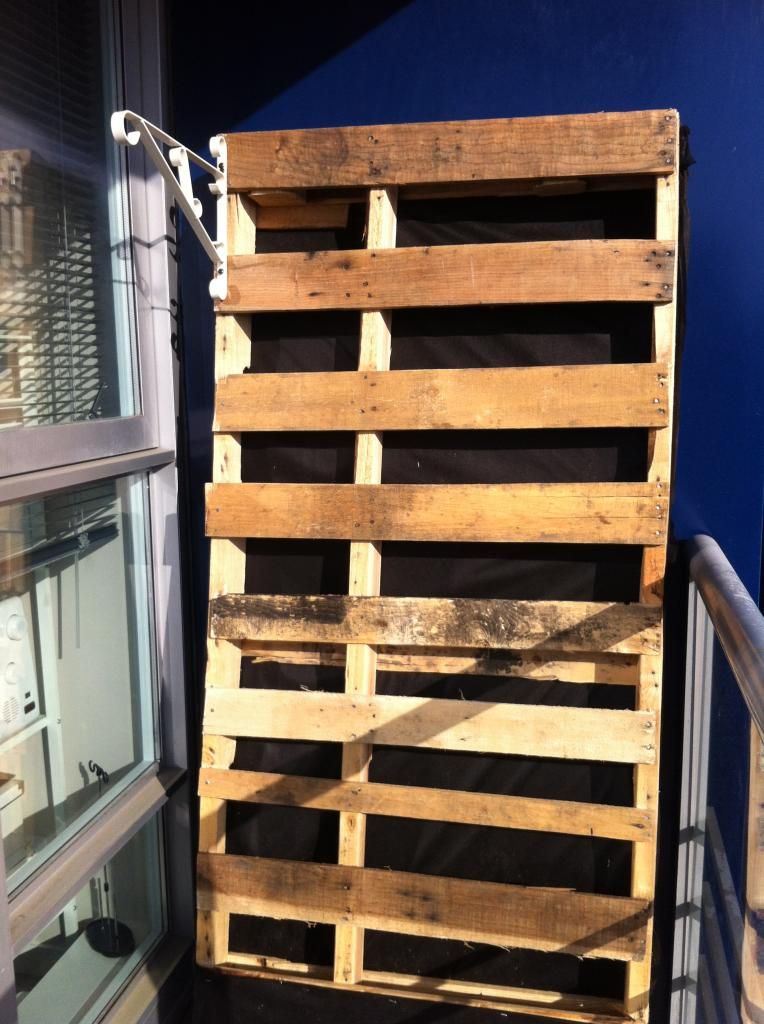
So I get it home and you know what????? It's 20 cm too wide for my patio! NOOOOOOOO!!!!! So out come the tools. I had to trim the sides and nail it together again.
 |
| You have got to be kidding me! |
First thing you want to ask yourself is "what kind of pallet garden will I be making?"
- With boxes between the slats that you have to create yourself with landscaping fabric
- Without the boxes and just fill the entire pallet with soil
- With this method fill the pallet with soil and then plant your veggies and flowers. You need keep the pallet lying flat and wait at least 2 weeks for the roots to settle in before you push the pallet upright. But I don't the patience or the room to maneuver this so I went with Option 1, which is what I will cover in this tutorial
- Roll of landscaping fabric - it's super cheap, about $8.00 and you'll have enough to spare for your pots and plant boxes. It's available at any home improvement and gardening store.
- Staple gun - I have the cordless Arrow CT50 staple gun.
- Hammer - to reinforce some of those staples that didn't go all the way down.
- 3.5 bags of 23 litres of soil (or about 2 bags for a regular sized pallet)
Creating your pallet garden box:
I wrapped some landscaping fabric on the bottom to close it up.
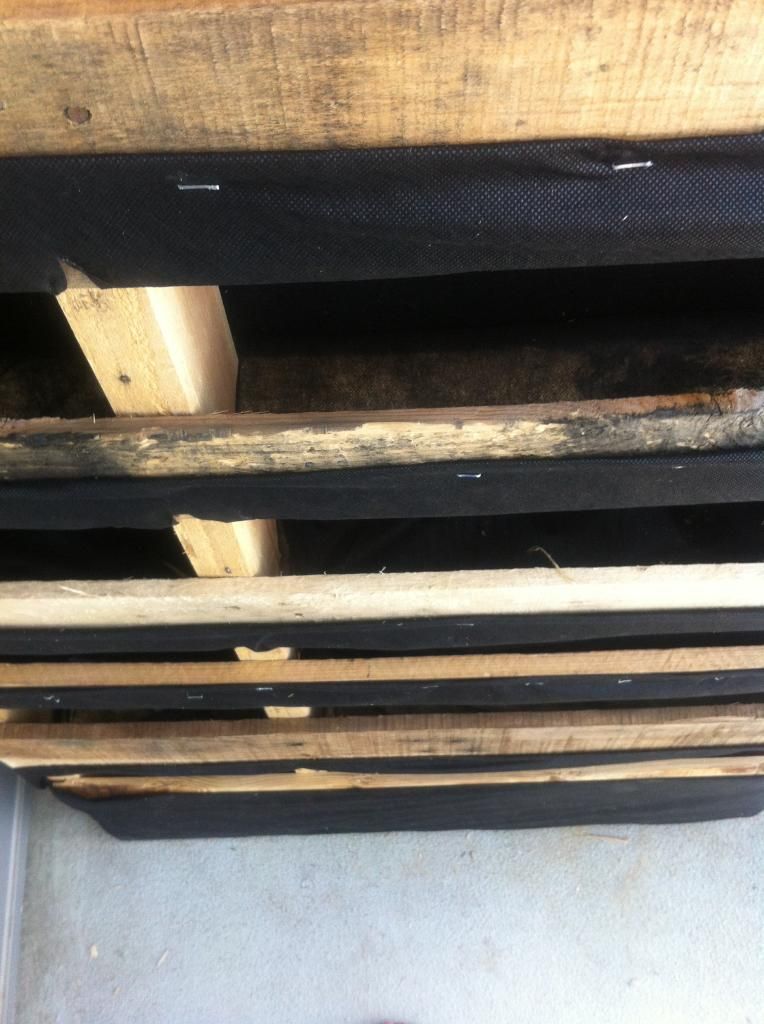
Next I made little pockets with the landscaping fabric between each slat. You'll be putting soil into these pockets so make sure you staple them in there nice and tight. If your staples are not all the way in the wood it leaves space for the fabric to tear under the weight. Grab that hammer and show that staple who's boss.
Once you've finished your pockets you need to turn it around and cover the back. I also added a plant hook on the side because I wanted to try out a Topsy Turvy this year.
Placing plants in the palette garden box:
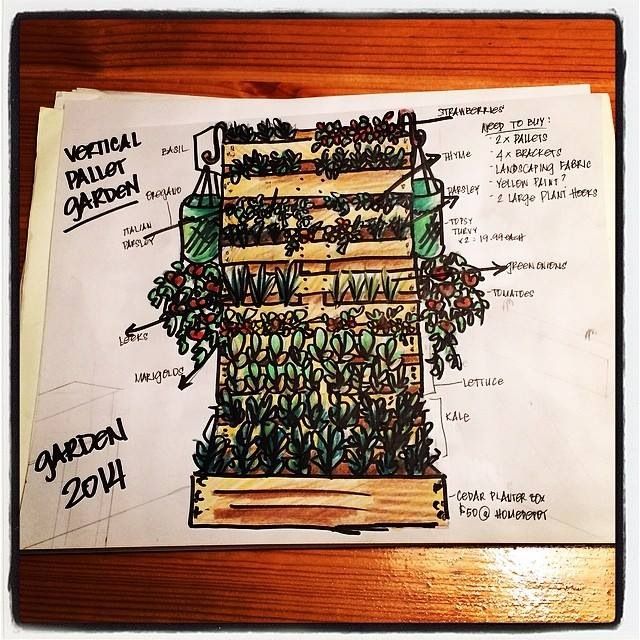
It's really important to plan out where you're going to put things. Here's a sketch I made a while ago but I re did it about 5 times afterwards until I was happy with the over all scheme:
Watering your plants in a pallet garden:
If you take the route that I did with the pockets you don't have to worry so much about uneven watering. However, if you go with Option 2 and decide just to fill the pallet up with soil, you do risk the top drying out a lot faster than the other tiers because the water runs straight down to the bottom.
How much and how often you will need to water will depend on how much sun or shade you have, what kind of plants you have, and how you've arranged them. Make sure to follow the instructions on the plant cards and follow the advice from experienced gardeners.
Some tips for planning your garden:
- Do your research
- How much shade and sun does your space have? Plants that require lots of sun (like tomatoes, peppers, basil, and most flowers) should go in the top tiers. If they require lots of space, make sure you adjust your pockets. The bottom tiers are best for plants that like shade (hostas, kale, salad greens, broccoli, and rosemary).
- For the first week, leave a matt at the bottom of the pallet. The soil is still settling in and it might drip down when you water your plants and this will create a hot mess. Trust me, I know.
- Leave at least 1 inch of space from the top of the pocket when you're adding soil or else the water will just run right off and down to the ground.
Good luck and happy gardening.

No comments:
Post a Comment