I've seen the Topsy Turvy on TV and the stores and I have to say, I've been very intrigued. They have received great reviews and I have yet to meet anyone who has committed to gardening and failed to make the Topsy Turvy work. But good grief are they ugly! I've seen several tutorials on how to make your own upside down planter but they, too, were ugly as sin. Time to break out the ingenuity.
So, as I was walking down the aisles of Home Depot, an idea popped into my head. Empty paint cans! They only cost about $4 each (or you could use existing ones). They have handles, a hole at the top to put soil in, and are rust resistant. I got really excited to do this project and failed to take pictures along the way but I've made some illustrations to make up for it.
What you'll need
- Empty Paint Cans
- Permanent marker
- Spray paint
- Painter's tape
- Electric Drill
- Jig Saw
- Extra Large Planter
- Soil
- Plants
- Gardening Hook
- Gloves
- Coffee filter
- Scissors
First thing I did was wash them out with bleach. Even though I was pretty sure that these were clean, I'd like to start out clean and fresh for my plants.
Turn the planter upside down. Using permanent marker, draw a circle about 3 inches diameter.
Using the drill, make holes every 1 centimeter. Be sure to wear gloves as the metal shards can be sharp and it's rather painful and difficult to take out metal slivers.
You can either use a jigsaw or a pair of heavy duty scissors to cut the hole.
You will need the coffee filter to prevent the soil from escaping the hole at the bottom. Trace the bottom of the can on the filter and make it about 1 inch smaller. Next, you grab the left over metal from when you made the hole in the can and trace this on to the center of the filter. With a pair of scissors, cut along the red lines:
Place the filter inside the can
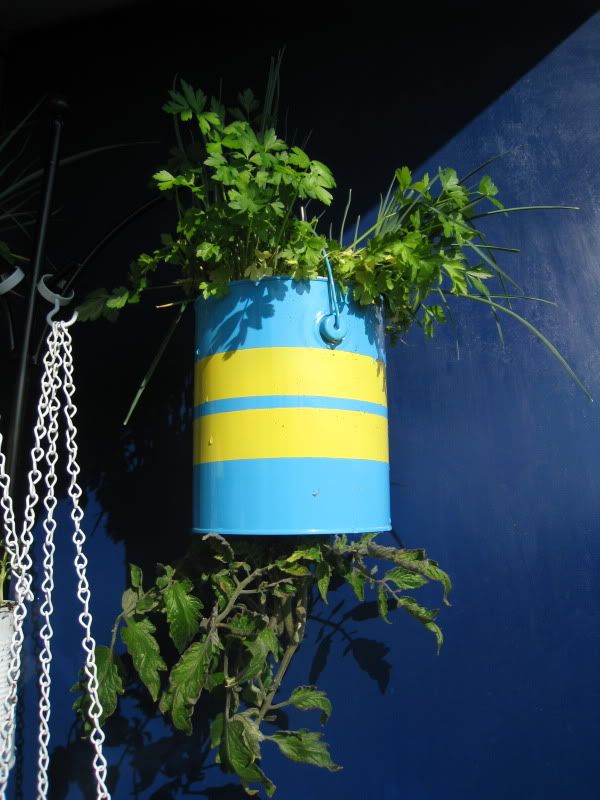
Now you have an upside planter. Yeah - it's THAT easy. Now to make it pretty.
Step Two - painting the can
To paint stripes on the can, I sprayed the entire can twice, allowing about 30 mins drying time between coats.
Using painters tape, I created the design that I wanted. I thought about making Chevron stripes but I was just too lazy.
Viola:
 |
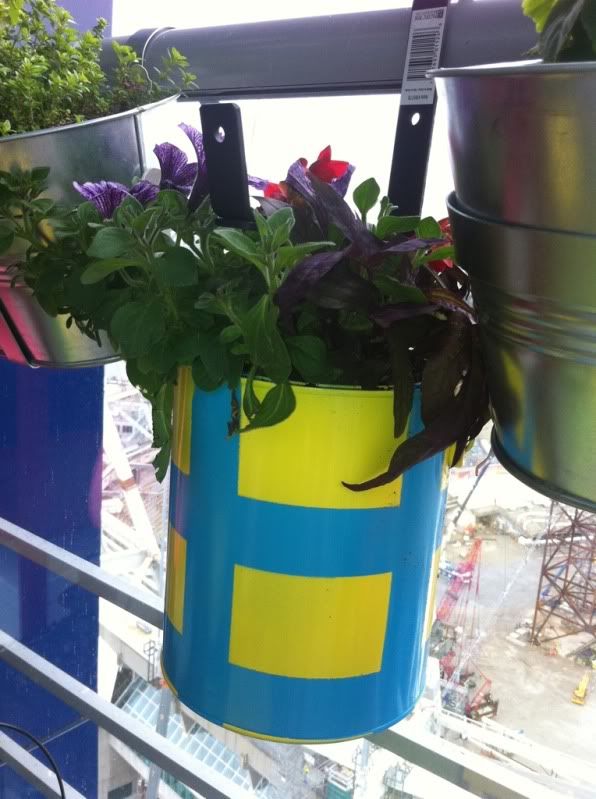
| Okay, these aren't upside planters but just a regular paint can planter but I wanted you to see the effect. |
Step Three - making the upside down planter stand.
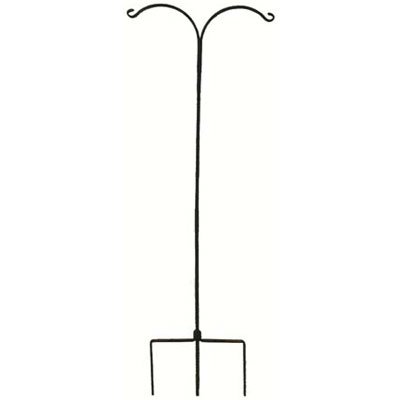
You'll need a garden hook:
And a large plant pot - the pot needs to be about .5 ft taller than the "fork" of the planter hook.
Fill up the plant pot about 30% of the way. Place the planter hook in the pot and press down so it is firmly in place. Fill the rest of the pot and periodically pat down the soil so that it is firm. Fill the pot all the way to the top. For extra security, you can also put rocks at the top to keep the planter hook steady.
Step Four - fill the planters
I found this to be a tad bit tricky. It is best if you use younger plants because the larger plants are difficult to wiggle in because of all their branches and leaves.
Take the tomato plant out of the pot and put it into the Upside down planter with the plant side in first:
Put the upside down planter on a hook and then fill the rest of the planter with soil.
Note: If you would like to put like to put herbs on the top of the planter like I did - go for it! It actually enhances the taste of the tomato!
That's it! Really!


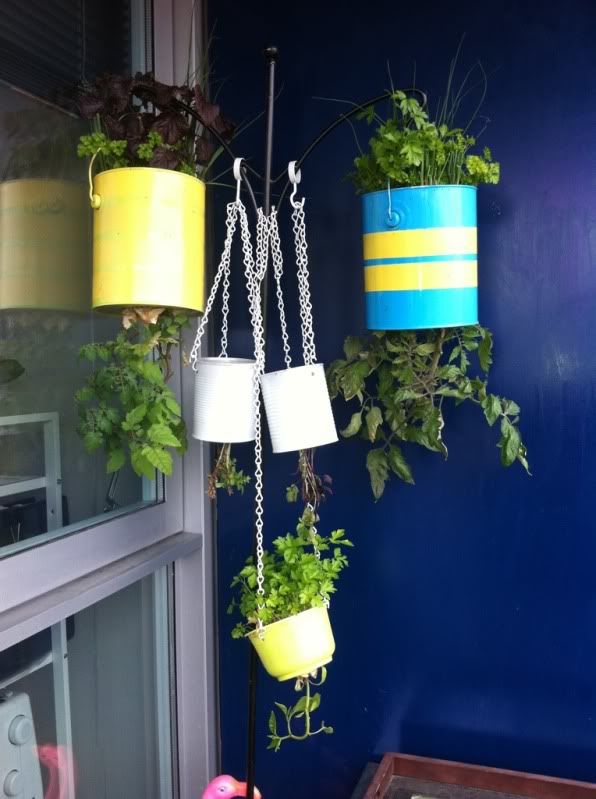
Wow, these look GREAT!!!
ReplyDeleteThanks! I need to get some more hooks so that they don't look like so cluttered. It will be interesting to see what it will look like once the sun starts blaring on them.
ReplyDelete